


Guide to Creating a Gravelled Area (UK)
Guide to Creating a Gravelled Area (UK)

Step-by-Step Guide to Creating a Gravelled Area (UK)
Gravelled areas are a practical and attractive way to landscape parts of your garden or outdoor space. Whether you’re looking to create a low-maintenance garden, a path, or a decorative seating area, gravel is an excellent choice. This guide will walk you through the steps to create a gravelled area in your garden suitable for UK weather and soil conditions.
Materials and Tools Needed:
- Gravel (various sizes available; typically 10-20mm stones are used for pathways, patios, or seating areas)
- Weed membrane (also known as landscaping fabric)
- Sub-base material (MOT Type 1 or crushed stone)
- Edging material (timber, metal, stone, or plastic garden edging)
- Wooden stakes and string (for marking out the area)
- Rake
- Shovel
- Wheelbarrow (for transporting materials)
- Compactor or tamper (optional but recommended for a solid base)
- Spirit level (for levelling)
- Gloves, knee pads, and protective clothing (optional for comfort and safety)
Step 1: Plan and Mark Out the Area
- Decide on the Size and Shape:
- Measure the space where you want the gravelled area. It can be used for a variety of purposes like driveways, paths, patios, or simply as a decorative section in the garden.
- Ensure the area is flat and accessible.
- Mark the Boundaries:
- Use wooden stakes and string to outline the area. This will help you visualise the space and make sure the shape is as desired.
- If you plan to create curves, you can use a garden hose or flexible tubing to mark out the curved edges instead of string.
Step 2: Prepare the Ground
- Clear the Area:
- Remove any existing grass, weeds, or plants in the area you intend to gravel. You can use a shovel or turf cutter to remove the top layer.
- Make sure the area is free from large stones, roots, or debris.
- Dig to the Appropriate Depth:
- Dig down approximately 100-150mm (4-6 inches) to accommodate the sub-base, weed membrane, and gravel layer.
- Ensure the soil beneath is compact and relatively even. You can use a rake or shovel to level the ground.
Step 3: Install Edging
- Choose Your Edging Material:
- Edging helps contain the gravel and gives the area a neat, finished look. You can use timber boards, metal edging strips, brick, or stone.
- Install the Edging:
- Secure the edging along the boundaries of your area. If using timber, stakes can be driven into the ground at regular intervals to support the edges.
- Ensure that the edging is level with the surrounding garden or pathway surface, using a spirit level to check.
Step 4: Lay the Sub-base
- Add a Sub-base Layer:
- For a durable and stable gravelled area, you need a sub-base. MOT Type 1 or crushed stone is ideal, especially for driveways or high-traffic areas.
- Spread the sub-base material to a depth of around 50-75mm (2-3 inches) across the entire area.
- Compact the Sub-base:
- Use a compactor or tamper to compress the sub-base material, making the surface firm and solid. This ensures the gravel won’t shift or sink over time.
Step 5: Lay the Weed Membrane
- Cut and Lay the Weed Membrane:
- Roll out a weed membrane or landscaping fabric over the entire area. This prevents weeds from growing through the gravel but still allows water to drain away.
- Overlap and Secure:
- Overlap the edges of the membrane by at least 10cm to ensure full coverage. Use pegs or large stones to keep it in place while laying the gravel.
Step 6: Add the Gravel
- Choose Your Gravel:
- Gravel sizes between 10mm and 20mm are the most popular for decorative areas and pathways. Larger gravel, such as 20mm to 40mm, is more suitable for driveways or heavy-duty areas.
- Common choices in the UK include pea gravel, limestone chippings, and slate.
- Spread the Gravel:
- Using a wheelbarrow, pour the gravel onto the membrane and spread it evenly using a rake. Aim for a depth of 50mm (2 inches) to give good coverage and stability.
- If you are creating a pathway, you may want to compact the gravel lightly.
- Level the Gravel:
- Use a rake to ensure the gravel is levelled across the entire area. For paths, you may prefer a slight slope for water runoff.
Step 7: Final Touches
- Top Up if Necessary:
- Once the gravel has settled, you may need to add more gravel to achieve the desired depth. Make sure it’s distributed evenly.
- Tidy the Edges:
- Check the edging and make sure it holds the gravel securely in place. Adjust any areas where gravel may be spilling over or where edges need tightening.
- Walkway or Patio Setup:
- If the gravelled area is intended for walking or seating, you can add garden furniture, stepping stones, or decorative features like pots and plants.
Maintenance Tips:
- Regular Raking: Gravel can shift over time, especially in high-traffic areas. Use a rake to redistribute and level the gravel periodically.
- Weed Prevention: Although weed membrane helps, some weeds may grow on top of the gravel. Regularly pull out any weeds you spot or use an appropriate weed killer.
- Top-Up Gravel: Every couple of years, you may need to add more gravel to keep the surface fresh and adequately covered.
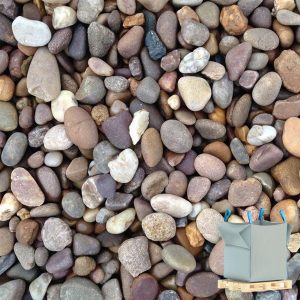
Choosing the Right Gravel for UK Conditions
- Pea Gravel: Rounded and smooth, ideal for decorative gardens or paths. Available in various colours such as beige, grey, or white.
- Limestone Chippings: Great for driveways or heavy-traffic areas. They are more angular, offering better stability.
- Slate Chippings: Popular for modern gardens, available in shades like blue, grey, or purple. Slate provides good water drainage and a stylish look.
- Cotswold Stone: A creamy, buff-coloured gravel that works well for pathways and patios.
Final Considerations
- Rainfall and Drainage: In the UK, frequent rain can cause issues with poorly drained gravelled areas. Make sure your gravel area is slightly sloped to encourage water to run off or install a French drain if necessary.
- Permissions: If your gravelled area is near the road or in front of your home, check with your local council for any planning permission requirements, especially for driveways.
Creating a gravelled area is a simple and effective way to enhance your garden’s aesthetics while keeping maintenance low. By following this guide, you’ll be able to build a durable and attractive gravelled area suited to UK weather conditions.
-
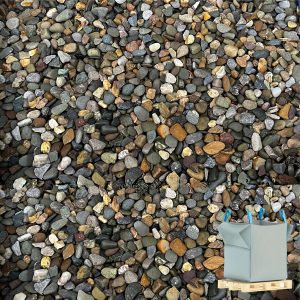
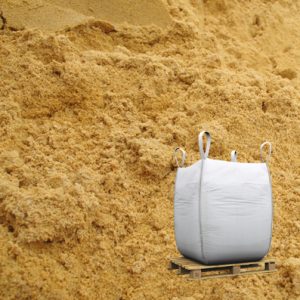
Bulk Bags, Decorative Aggregates
Bulk Bag 10mm Gravel / Pea Shingle
Original price was: £65.00.£58.75Current price is: £58.75. inc vat -
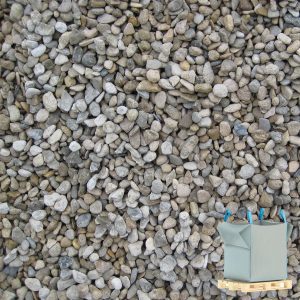
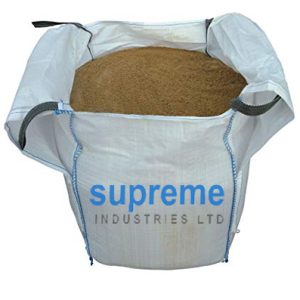
Bulk Bags, Decorative Aggregates
Bulk Bag 20mm Gravel
Original price was: £65.00.£58.75Current price is: £58.75. inc vat -
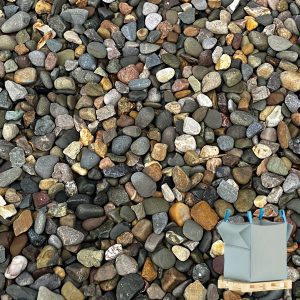
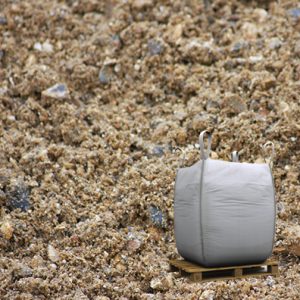
Bulk Bags
Bulk Bag Concrete Ballast
Original price was: £65.00.£58.75Current price is: £58.75. inc vat